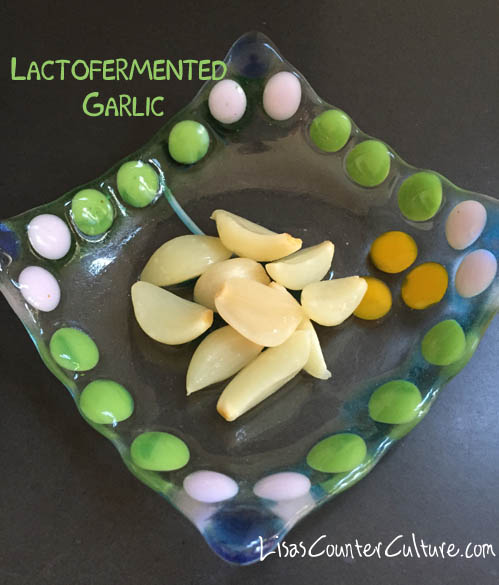
Lactofermented Garlic
Fermented garlic is a staple in our home. It's delicious straight out of the jar. Fermenting garlic reduces the heat but adds a depth of flavor that's quite pleasing. Try adding fermented garlic to salad dressing, dip, guacamole or deviled eggs.
I suggest using a bit of the brine in the same way you would use the garlic cloves. It's divine. I've added it to fresh tomato juice and oh my, is it good.
You can use fermented garlic in any recipe calling for garlic. If you want to retain the probiotic content, add it to cold dishes like chicken or potato salad rather then heating it.
Servings 1 Liter
Ingredients
- Fresh organic peeled garlic cloves non-radiated and pesticide free
- 2% brine 20 grams of Himalayan salt per liter water
Instructions
-
Pack the garlic cloves into the jar so that they fit in snugly and are below the collar of the Probiotic Jar.
-
Add the 2% brine to cover. The top of the liquid should be at least 1 inch below the top of the jar or to the collar of the Probiotic Jar.
-
Float the brine bowl on top and make sure the cloves are submerged.
-
Close and add the airlock. Ferment at room temperature (64-74ºF), covered, for 6 to 9 days before transferring to the fridge. If bubbles are still active in the airlock AND the room temperature is not higher than 74ºF continue fermenting on the counter for several more days. If the bubbles stop sooner, it's time to move the jar to cold storage.
-
Move to the fridge with the airlock inserted (be sure it's got enough water) to let the garlic cure.
-
Garlic generally take a few weeks to mellow and cure in cold storage. These do have a long shelf life when properly stored. I've got a batch over a year old that still tastes great.
Recipe Notes
Room temperature refers to the range of 64°F to 74°F.